
DIY Molded Chocolate: Creative Shapes and Flavors to Try at Home
Indulging in chocolate is one of life’s simple pleasures, and crafting your own molded chocolates at home takes that joy to a whole new level. Not only does it allow you to experiment with unique shapes and flavors, but it also makes for impressive gifts and party treats. Whether you’re a seasoned chocolatier or a curious beginner, this guide will walk you through the essentials of DIY molded chocolate, offering tips on creative shapes and delicious flavors.
Getting Started: Tools and Ingredients
Before diving into the creative process, you’ll need a few basic tools and ingredients:
Tools:
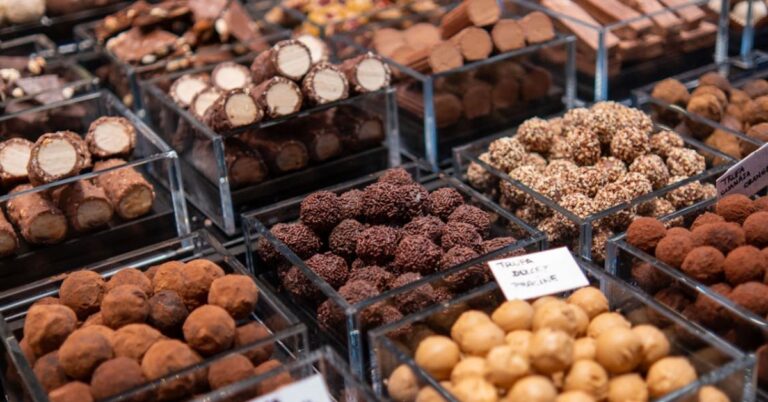
- Chocolate Molds: Available in various shapes and sizes, from classic bars and hearts to intricate designs like flowers and animals.
- Double Boiler or Microwave: For melting chocolate evenly without burning it.
- Spatula: Stir the melted chocolate and ensure a smooth consistency.
- Thermometer: To monitor the chocolate’s temperature, crucial for tempering.
- Piping Bags or Spoons: For filling molds neatly.
Ingredients:
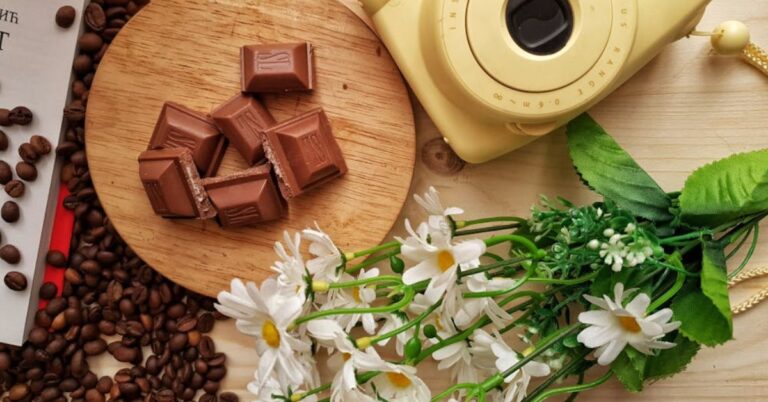
- High-Quality Chocolate: Choose between dark, milk, or white chocolate. Look for chocolate with a high cocoa content for better flavor and melting properties.
- Flavorings: Extracts (vanilla, almond, mint), spices (cinnamon, chili), or liqueurs (Grand Marnier, rum).
- Fillings: Nuts, dried fruits, caramel, peanut butter, or ganache.
Step-by-Step Guide to Making Molded Chocolate
1. Tempering Chocolate
Tempering is the process of heating and cooling chocolate to stabilize it for making candies and confections. Proper tempering ensures a glossy finish and a satisfying snap.
Method:
- Chop the Chocolate: Finely chop your chocolate to ensure even melting.
- Melt the Chocolate: Use a double boiler or microwave in short bursts, stirring frequently, until two-thirds of the chocolate is melted.
- Cool the Chocolate: Add the remaining chopped chocolate to the melted portion and stir until smooth. This process helps to cool the chocolate and introduce stable crystals.
- Heat Slightly: Reheat the chocolate gently until it reaches the desired working temperature (around 88-90°F for dark chocolate, 84-87°F for milk and white chocolate).
2. Preparing the Molds
Ensure your molds are clean and dry. Any moisture or residue can ruin the appearance and texture of your chocolates.
Method:
- Polish Molds: Use a soft cloth to polish the molds, ensuring a shiny finish on your chocolates.
- Warm the Molds: If needed, warm the molds slightly to avoid shocking the tempered chocolate.
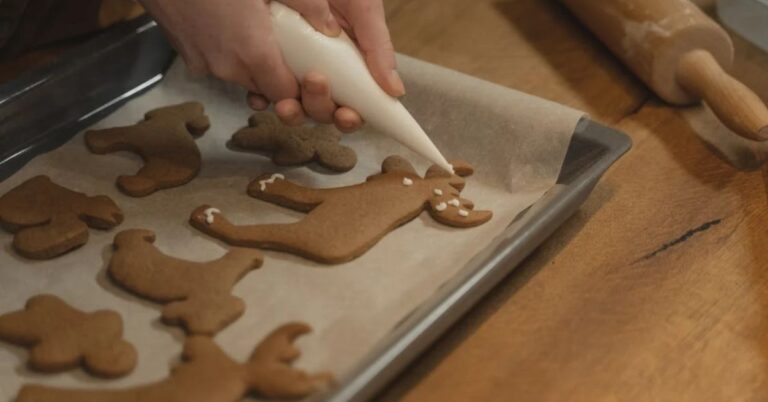
3. Filling the Molds
Now comes the fun part – filling the molds with your tempered chocolate and any additional flavors or fillings.
Method:
- Pour or Pipe Chocolate: Carefully fill each mold with a layer of chocolate, using a piping bag or spoon.
- Add Fillings: If using fillings, add them now, ensuring they are centered and do not touch the mold’s sides.
- Seal the Mold: Pour or pipe more chocolate over the fillings to encase them completely.
- Tap the Mold: Gently tap the mold on the counter to remove any air bubbles.
4. Setting and Demolding
Allow the chocolate to set at room temperature or in the refrigerator.
Method:
- Set the Chocolate: Let the filled molds sit at room temperature until set. For quicker results, refrigerate for 10-15 minutes.
- Demold the Chocolates: Once completely set, gently flex the molds or tap them to release the chocolates.
Creative Shapes and Flavors to Try
Shapes:
- Seasonal Themes: Hearts for Valentine’s Day, eggs for Easter, pumpkins for Halloween.
- Personalized Designs: Use letter molds to create initials or custom messages.
- Nature-Inspired: Flowers, leaves, and animal shapes for a whimsical touch.
- Geometric Patterns: Modern and stylish, perfect for sophisticated gifts.
Flavors:
- Classic Combinations: Dark chocolate with sea salt, milk chocolate with hazelnuts, white chocolate with raspberry.
- Gourmet Touches: Dark chocolate with lavender, milk chocolate with chai spice, white chocolate with matcha.
- Exotic Blends: Dark chocolate with chili and lime, milk chocolate with coconut and curry, white chocolate with yuzu and black sesame.
- Alcohol-Infused: Dark chocolate with whiskey ganache, milk chocolate with Baileys filling, white chocolate with limoncello essence.
Tips for Success
- Use High-Quality Ingredients: The quality of your chocolate and fillings will significantly impact the final product.
- Experiment Boldly: Don’t be afraid to try new flavor combinations and shapes.
- Practice Patience: Te
- mpering chocolate and filling molds can be meticulous work, but the results are worth the effort.
- Store Properly: Keep your chocolates in a cool, dry place away from direct sunlight and strong odors.
Read More: From Bean to Bar: The Fascinating Journey of Molded Chocolate
Conclusion
Creating your own molded chocolates at home is a delightful and rewarding experience. With the right tools, ingredients, and a bit of creativity, you can craft exquisite chocolates that are as pleasing to the eye as they are to the palate. Whether you’re making treats for yourself, gifts for loved ones, or special occasion delights, homemade molded chocolates are sure to impress. Happy chocolate crafting!